sealos安装k8s 1.27
本文档展示使用sealos来安装k8s集群,具体的安装步骤可以查看以下链接:
https://sealos.run/docs/5.0.0/developer-guide/lifecycle-management/quick-start/deploy-kubernetes
由于本人用的虚拟机是ARM ubuntu,根据官网的操作步骤有一些坑,所以这里展示安装步骤
| 主机名 | 配置 | ip地址 |
|---|---|---|
| k8s-master | 2C4G | 192.168.233.129 |
| k8s-slave01 | 2C4G | 192.168.233.130 |
| k8s-slave02 | 2C4G | 192.168.233.131 |
hostname配置
调整每台机子的主机名
sudo hostnamectl set-hostname k8s-slave02
sudo hostnamectl set-hostname k8s-slave01
sudo hostnamectl set-hostname k8s-masterhost配置
每台主机都配置其他主机的host,修改/etc/hosts文件,在后面加上以下信息
192.168.233.129 k8s-master
192.168.233.130 k8s-slave01
192.168.233.131 k8s-slave02下载sealos
试了sealos教程的二进制自动下载跟包管理工具安装,都没有用,所以最终选择了用sealos的二进制手动下载,先到sealos官网查看sealos的最新版本,https://github.com/labring/sealos/releases。注意以下操作都在主机上执行。
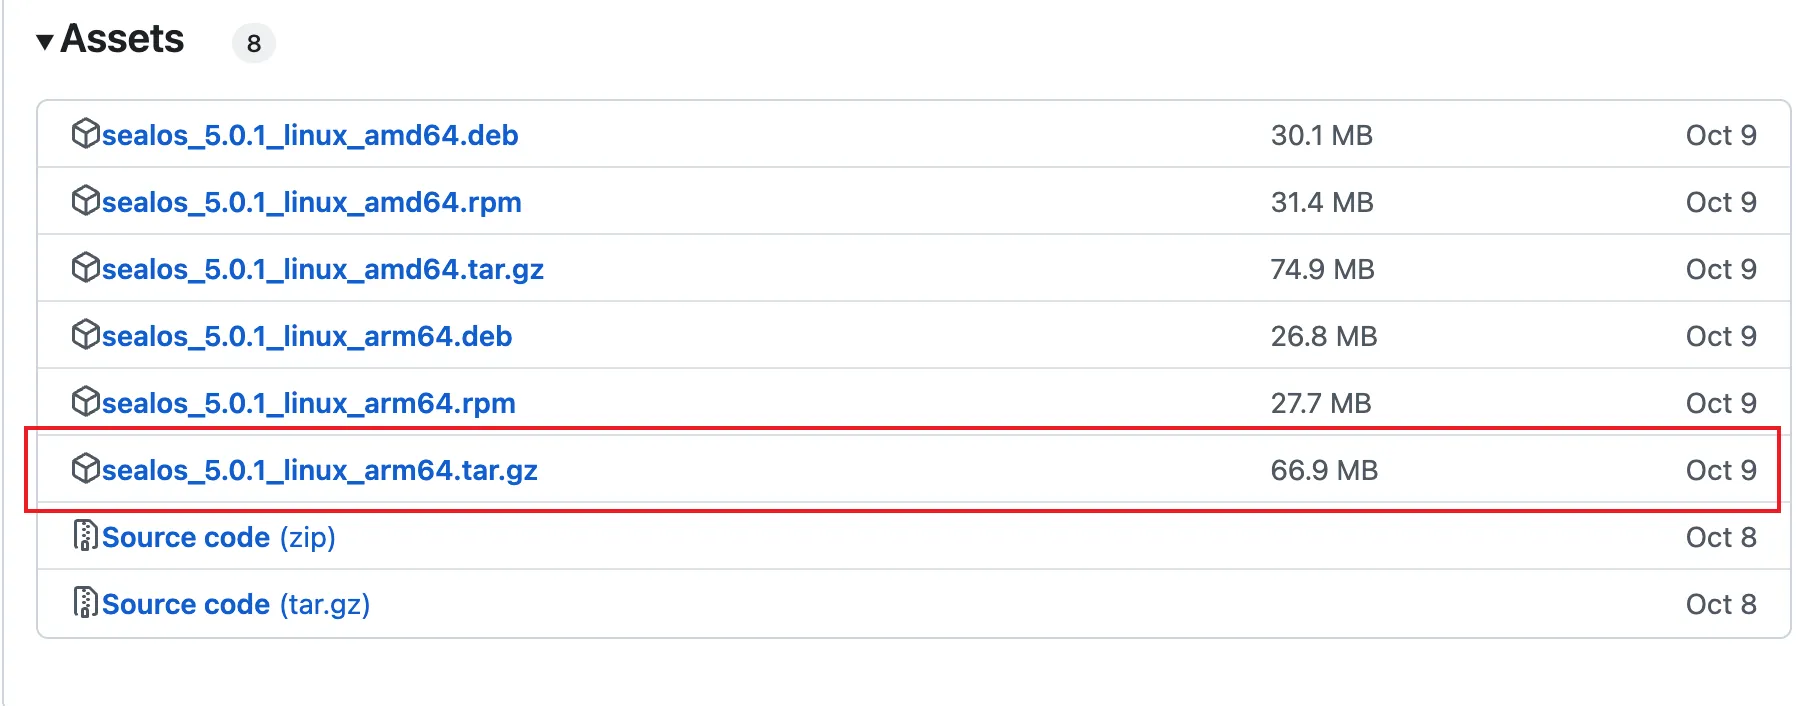
如上图,最新的版本为5.0.1,右键复制链接,先下载文件包
wget https://mirror.ghproxy.com/https://github.com/labring/sealos/releases/download/v5.0.1/sealos_5.0.1_linux_arm64.tar.gz解压缩,然后将sealos复制到bin目录
tar zxvf sealos_5.0.1_linux_arm64.tar.gz && sudo chmod +x sealos && sudo mv sealos /usr/bin安装sealos
sealos run registry.cn-shanghai.aliyuncs.com/labring/kubernetes:v1.27.7 registry.cn-shanghai.aliyuncs.com/labring/helm:v3.9.4 registry.cn-shanghai.aliyuncs.com/labring/cilium:v1.13.4 \
     --masters 192.168.64.2,192.168.64.22,192.168.64.20 \
--nodes 192.168.64.21,192.168.64.19 -p [your-ssh-passwd]官网上的这条指令有问题,不支持-p参数了,会报错

要换成以下指令,先配置一主一从的
sudo sealos run registry.cn-shanghai.aliyuncs.com/labring/kubernetes:v1.27.7 registry.cn-shanghai.aliyuncs.com/labring/helm:v3.9.4 registry.cn-shanghai.aliyuncs.com/labring/cilium:v1.13.4 \
     --masters 192.168.233.129 \
--nodes 192.168.233.130 --passwd 525342 --user='ubuntu'要是--user指定从机1的用户名,--passwd指定从机1的密码。
期间会遇到缺少两个插件的问题,安装对应的插件重试即可
sudo apt install fuse-overlayfs
sudo apt install uidmap重新执行安装语句,等到安装完成,出现以下语句表示主机成功了。
To start using your cluster, you need to run the following as a regular user:

  mkdir -p $HOME/.kube
  sudo cp -i /etc/kubernetes/admin.conf $HOME/.kube/config
  sudo chown $(id -u):$(id -g) $HOME/.kube/config

Alternatively, if you are the root user, you can run:

  export KUBECONFIG=/etc/kubernetes/admin.conf

You should now deploy a pod network to the cluster.
Run "kubectl apply -f [podnetwork].yaml" with one of the options listed at:
  https://kubernetes.io/docs/concepts/cluster-administration/addons/

You can now join any number of control-plane nodes by copying certificate authorities
and service account keys on each node and then running the following as root:

  kubeadm join apiserver.cluster.local:6443 --token <value withheld> \
        --discovery-token-ca-cert-hash sha256:73ba5798f05398ea28e8fe30f065ab367b60154ef89e61ee7e6fb2ad9804b2a3 \
--control-plane --certificate-key <value withheld>出现以下语句表示从机安装成功了
2024-11-24T16:46:16 info succeeded in creating a new cluster, enjoy it!
2024-11-24T16:46:16 info
      ___           ___           ___           ___       ___           ___
     /\  \         /\  \         /\  \         /\__\     /\  \         /\  \
    /::\  \       /::\  \       /::\  \       /:/  /    /::\  \       /::\  \
   /:/\ \  \     /:/\:\  \     /:/\:\  \     /:/  /    /:/\:\  \     /:/\ \  \
  _\:\~\ \  \   /::\~\:\  \   /::\~\:\  \   /:/  /    /:/  \:\  \   _\:\~\ \  \
 /\ \:\ \ \__\ /:/\:\ \:\__\ /:/\:\ \:\__\ /:/__/    /:/__/ \:\__\ /\ \:\ \ \__\
 \:\ \:\ \/__/ \:\~\:\ \/__/ \/__\:\/:/  / \:\  \    \:\  \ /:/  / \:\ \:\ \/__/
  \:\ \:\__\    \:\ \:\__\        \::/  /   \:\  \    \:\  /:/  /   \:\ \:\__\
   \:\/:/  /     \:\ \/__/        /:/  /     \:\  \    \:\/:/  /     \:\/:/  /
    \::/  /       \:\__\         /:/  /       \:\__\    \::/  /       \::/  /
     \/__/         \/__/         \/__/         \/__/     \/__/         \/__/

                  Website: https://www.sealos.io/
                  Address: github.com/labring/sealos
Version: 5.0.1-2b74a1281设置k8s的kube文件路径,在上面主机部分输出可以找到。
  mkdir -p $HOME/.kube
  sudo cp -i /etc/kubernetes/admin.conf $HOME/.kube/config
sudo chown $(id -u):$(id -g) $HOME/.kube/config然后执行kubectl get nodes查看节点状态
ubuntu@k8s-master:~$ kubectl get nodes
NAME          STATUS     ROLES           AGE    VERSION
k8s-master    Ready      control-plane   109s   v1.27.7
k8s-slave01 NotReady <none> 85s v1.27.7等到一段时间过后重新查看
ubuntu@k8s-master:~$ kubectl get nodes
NAME          STATUS   ROLES           AGE     VERSION
k8s-master    Ready    control-plane   5m57s   v1.27.7
k8s-slave01 Ready <none> 5m33s v1.27.7一主一从安装完毕
增加k8s节点
增加node节点
sudo sealos add --nodes 192.168.233.131 --passwd 525342 --user='ubuntu'至此,三节点集群搭建完成
ubuntu@k8s-master:~$ kubectl get nodes
NAME          STATUS   ROLES           AGE   VERSION
k8s-master    Ready    control-plane   41m   v1.27.7
k8s-slave01   Ready    <none>          40m   v1.27.7
k8s-slave02 Ready <none> 79s v1.27.7增加master节点
sudo sealos add --masters 192.168.233.131 --passwd 525342 --user='ubuntu'